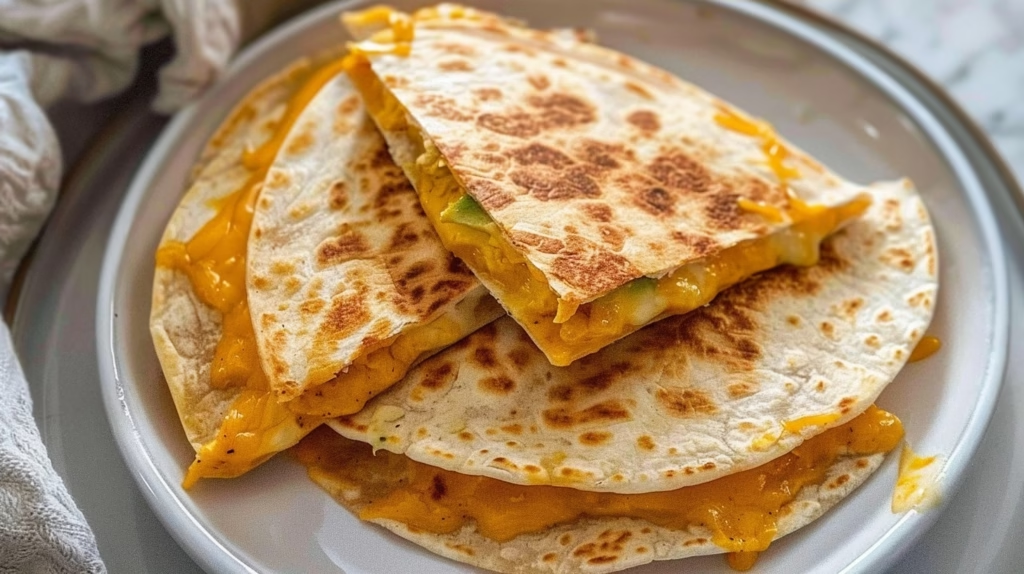
Cheese Quesadilla Triangles are the ultimate comfort food, consisting of two flour tortillas toasted to golden perfection with a generous center of melted cheddar cheese. These handheld snacks offer a satisfying crunch on the outside and a gooey, savory interior that appeals to both children and adults. You can prepare this simple dish in just minutes using basic pantry staples and your favorite non-stick skillet.
Introduction to Cheese Quesadilla Triangles
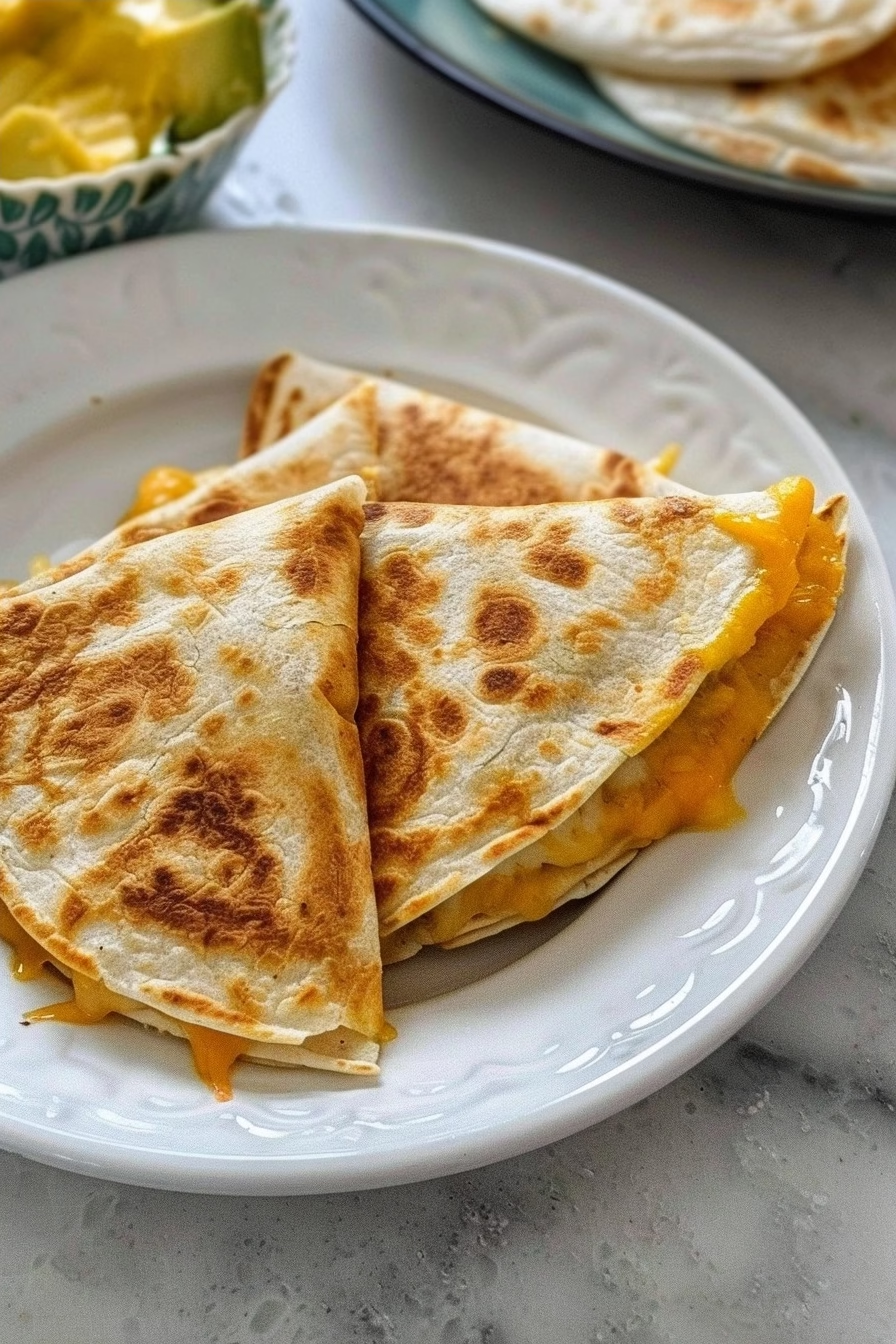
The texture of these triangles is a harmonious balance between the crisp, slightly charred exterior of the flour tortilla and the luxurious, molten center of shredded cheddar cheese. Each bite delivers a comforting warmth that pairs perfectly with cool, creamy toppings, making the experience feel both indulgent and grounded. The subtle, toasted aroma of the flour tortillas combined with the sharp scent of melting dairy creates an inviting kitchen atmosphere that promises a quick meal.
Originating from Mexican culinary traditions, the modern quesadilla has become a global staple due to its incredible versatility and structural simplicity. While traditional versions often feature corn tortillas and complex fillings, the flour-based triangular version stands out for its accessible nature and efficient cooking method. This specific preparation method ensures the heat distributes evenly, allowing the cheese to reach a perfect flow state without burning the delicate outer layers of the bread.
This recipe remains ideal for busy individuals who need a high-quality meal on short notice without spending significant time in the kitchen. Whether you are hosting a casual game night, preparing an after-school snack, or just craving a savory bite, these triangles offer a reliable solution for your hunger. Integrating this simple dish into your weekly rotation provides a stress-free option that consistently delivers on taste, speed, and overall satisfaction for all diners.
Why You’ll Love This Recipe
The star ingredient here is undoubtedly the quality of the shredded cheddar cheese, which provides the primary flavor profile and structural binding for the dish. By using a medium-sharp variety, you achieve an ideal balance of saltiness and creaminess that melts beautifully under the direct heat of the pan. This technique ensures that every single bite contains a perfect ratio of golden tortilla to gooey, flavorful cheese for maximum enjoyment.
You will appreciate the delightful contrast between the crunchy exterior and the soft, molten cheese core that develops after only a few minutes of cooking. The visual appeal of uniform triangles makes this dish feel much more elegant than standard folded tortillas, elevating your snack game significantly. This recipe satisfies your hunger on multiple levels, offering a crunch that feels substantial and a filling that provides essential protein and fat for energy.
The Perfect Weeknight Dinner
Achieving a perfect dinner has never been easier because this recipe requires minimal equipment and is ready in under twenty minutes from start to finish. You only need a single non-stick skillet and a cutting tool, which makes the entire process incredibly straightforward for any level of home cook. The focus remains on maintaining medium-high heat to ensure the cheese melts rapidly while the tortilla develops a beautiful golden brown color.
This dish works perfectly for busy families who need a reliable backup plan when schedules become overwhelming during the hectic work week. Beginners will find the process very forgiving, as the visual cues of browning tortillas provide clear indicators of when the cooking is complete. Because you can prepare these in batches, they are also an excellent choice for casual entertaining where you need to feed multiple people quickly.
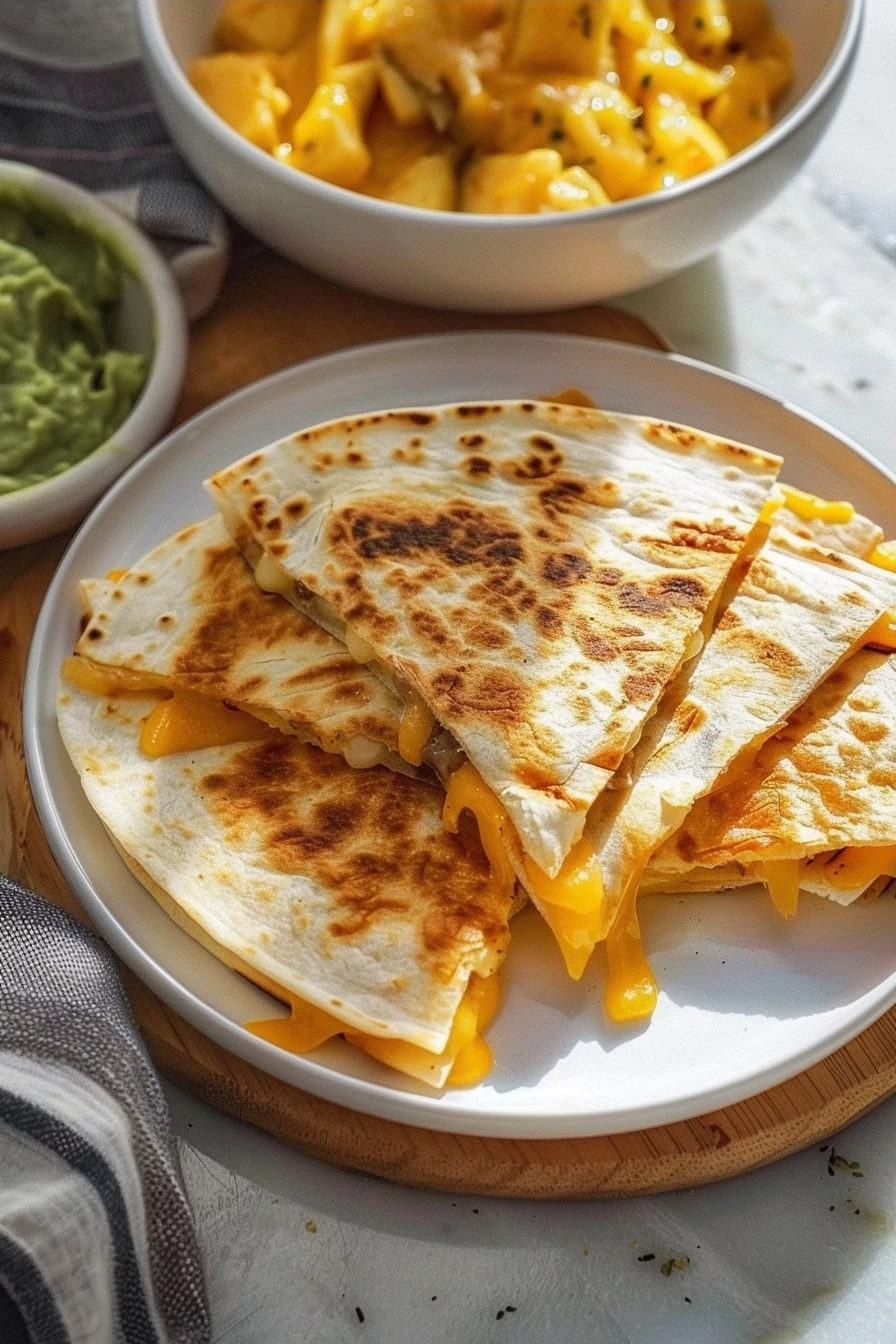
Ingredients Needed for Cheese Quesadilla Triangles
Main Ingredients
Gather these fresh ingredients to create the foundation for your delicious and crispy cheese-filled quesadilla triangles at home today.
| Ingredient | Quantity | Notes |
|---|---|---|
| Flour Tortillas | 2 pieces | The structural base |
| Cheddar Cheese | 0.5 cup | Provides the melt |
| Unsalted Butter | 2 teaspoons | Adds rich flavor |
| Guacamole | 0.5 cup | Essential for serving |
Optional Add-Ins
Customizing your dish with these extra ingredients allows you to tailor the flavor profile to your specific palate preferences and cravings. Experimenting with these additions can turn a simple snack into a hearty meal that features fresh vegetables or extra protein sources.
| Ingredient | Quantity | Notes |
|---|---|---|
| Black Beans | 0.25 cup | Adds hearty fiber |
| Diced Tomatoes | 2 tablespoons | Provides fresh acidity |
| Fresh Cilantro | 1 teaspoon | Adds herbal brightness |
| Sliced Jalapeños | 1 tablespoon | Introduces spicy kick |
Ingredient Substitutions
Changing these components slightly can adapt the recipe to what you currently have inside your pantry or refrigerator shelves.
- Flour Tortillas: Substitute with whole wheat tortillas for a nuttier flavor profile and slightly more fiber in every single serving.
- Unsalted Butter: Use olive oil instead to create a lighter finish that still provides the necessary fat for a crisp tortilla crust.
- Cheddar Cheese: Try Monterey Jack or a mild Colby blend if you prefer a smoother, more subtle melt that is less sharp.
- Guacamole: Swap in fresh pico de gallo to bring a chunky, acidic tomato base that cuts through the rich melted cheese.
Step-by-Step Cooking Instructions
Focus on maintaining a consistent heat level throughout the process to ensure the tortillas brown evenly without burning. Following these precise steps will lead to a golden, crispy result that features perfectly melted cheese in the center.
Preparing and Heating the Pan
Start by placing your non-stick skillet over medium-high heat to allow the surface to warm up before adding any ingredients. Add the two teaspoons of butter or olive oil, swirling the pan gently to coat the entire bottom surface evenly. You know the pan is ready when the butter begins to foam slightly or the oil creates thin, shimmering lines across the surface. This step is critical because a properly preheated pan ensures that the tortilla begins to crisp the instant it touches the metal.
Assembling and Cooking the Quesadilla
Lay your first flour tortilla flat in the center of the skillet and immediately scatter the shredded cheese over the surface. Place the second flour tortilla directly on top of the cheese layer, pressing down lightly with a spatula to encourage contact. Cook this assembly for two to three minutes until the bottom of the tortilla turns a deep, attractive golden brown. Carefully flip the quesadilla using a wide spatula, ensuring that all the cheese remains contained between the two layers during the rotation.
Finalizing and Slicing
Cook the second side for another two to three minutes until it matches the golden brown color of the first side. Remove the finished quesadilla from the heat and transfer it to a stable cutting board to prevent burning your countertop surface. Wait approximately thirty seconds before using a sharp knife or pizza cutter to slice the round shape into six uniform triangles. Serving immediately while the cheese is still hot and stretchy is the best way to enjoy these crisp triangles.
Pro Tips
Mastering this simple recipe requires attention to temperature control and ingredient quality during every single stage of the cooking process. Using these professional strategies will consistently produce restaurant-quality results in your home kitchen every time you decide to make this meal.
- Use a heavy-bottomed skillet because it retains heat more efficiently than thinner pans and promotes even browning across the tortilla surface. This prevents hot spots that might cause some sections of the tortilla to burn while other areas remain pale and soft.
- Always shred your own cheese from a block rather than buying pre-shredded bags to ensure the best melting characteristics. Pre-shredded bags often contain anti-caking agents like cellulose that prevent the cheese from melting into that desired smooth, gooey consistency.
- Press down gently with a wide spatula while cooking to create a bond between the melted cheese and the tortilla layers. This action ensures that your triangles stay intact when you cut them and creates a more cohesive texture in every bite.
- Keep the heat at a steady medium-high setting to facilitate browning without charring the flour exterior too quickly. If the heat is too high, the outside will burn before the cheese has a chance to liquefy completely.
- Let the quesadilla rest for a minute on the cutting board before making your first slice into the center. Allowing the cheese to settle for a few moments prevents it from oozing out excessively when you apply pressure with your blade.
The single most important technique involves managing the heat precisely to balance the crispness of the shell with the state of the cheese. If you rush the process by using high heat, you risk a bitter, burnt tortilla that distracts from the mild flavor of the melted cheddar inside. Patience during the flipping stage ensures that the structure of the quesadilla remains perfectly aligned for those beautiful triangles.
Serving Suggestions and Variations
Pairing with Sides
These triangles benefit from sides that add brightness and acidity to contrast the rich, fatty nature of the melted cheddar. A bowl of Fresh Tomato Salsa works wonders, as the acidic tomatoes and onions help cut through the denseness of the cheese. You might also consider adding a side of Spicy Black Bean Salad to introduce additional texture and a substantial fiber boost to your meal. Pairing these with Cilantro Lime Rice rounds out the plate, making the snack feel more like a complete, satisfying dinner experience.
Creative Variations
You can easily inject heat into the recipe by incorporating finely chopped fresh serrano peppers or a dash of crushed red pepper flakes into the cheese layer. Ensure you distribute these spicy elements evenly across the tortilla so that every triangle receives a consistent level of warmth. This small adjustment transforms the flavor profile significantly without adding any extra preparation time to your cooking routine.
Swapping the cheddar for shredded rotisserie chicken or cooked ground turkey provides a massive protein boost that turns these triangles into a filling lunch. The added protein makes the structure more substantial, so you may need to increase the cooking time slightly to ensure the meat warms through completely. This versatile base allows you to clear out your refrigerator of leftovers while creating a brand new, exciting meal option.
For those who love deeper flavors, try adding a light spread of Roasted Garlic Hummus inside the tortilla before adding the cheese. This adds a savory, earthy depth that pairs beautifully with the sharp cheddar and the crispy tortilla shell. Finish your meal with a scoop of Mexican Chocolate Mousse for a sweet, decadent ending that complements the savory main course perfectly.
Nutritional Information
The values provided below are approximate values per serving based on the ingredients listed in this recipe. These are approximate values and may vary depending on specific ingredients used.
| Nutrient | Amount per Serving |
|---|---|
| Calories | 320 |
| Protein | 12g |
| Fat | 18g |
| Carbohydrates | 28g |
| Fiber | 2g |
| Sugar | 1g |
| Sodium | 450mg |
These are approximate values and may vary depending on specific ingredients used.
FAQ
Can I substitute flour tortillas for corn tortillas?
You can certainly use corn tortillas, but you should expect a different texture and structural result for your cheese quesadilla triangles. Corn tortillas are stiffer and tend to crack when folded, so you will need to handle them with extra care during the flip. They provide a distinct earthy flavor that complements the sharp cheddar cheese in a very traditional and delicious way. Remember that corn tortillas usually require a slightly longer time in the pan to become pliable before they start to crisp.
How can I make this recipe suitable for vegetarians?
This recipe is naturally vegetarian as it relies on flour tortillas, cheese, and butter as the primary components for the final dish. You can keep the recipe strictly vegetarian by ensuring the cheese you purchase does not contain animal-derived rennet if you have dietary restrictions. Simply check the label on your cheddar packaging to verify the production methods used by the manufacturer. This simple dish remains a perfect option for those following a meat-free lifestyle while still craving a warm, comforting snack.
What is the best way to store leftovers?
Store any leftover triangles in an airtight container inside your refrigerator to keep them fresh for up to three days. You should avoid freezing them, as the texture of the flour tortilla becomes compromised and soggy once thawed and reheated later. When you are ready to eat them again, place them back into a hot skillet for one minute per side to restore the original crunch. Reheating in a microwave is not recommended because it will cause the bread to become soft and unappealing very quickly.
Can I prepare these ahead of time for a party?
You can assemble the quesadillas by placing the cheese between the tortillas earlier in the day and keeping them refrigerated until you are ready to cook. This preparation strategy saves significant time when your guests arrive, as you only need to perform the final pan-searing step. Keep the assembled tortillas in a sealed plastic bag to prevent them from drying out or absorbing other odors from your refrigerator. This approach ensures you spend your time with your guests rather than standing at the stove for the entire evening.
Why is my cheese not melting properly?
If your cheese is not melting, the heat in your skillet is likely too low to facilitate the transition from solid to liquid. Try increasing your heat setting to medium-high and ensuring that you use a lid to trap the heat inside the pan during the first two minutes. Using high-quality block cheese that you shred yourself also solves most melting issues caused by anti-caking additives found in pre-shredded products. Follow these adjustments to achieve that perfect, gooey, restaurant-style melt every single time you cook this dish.
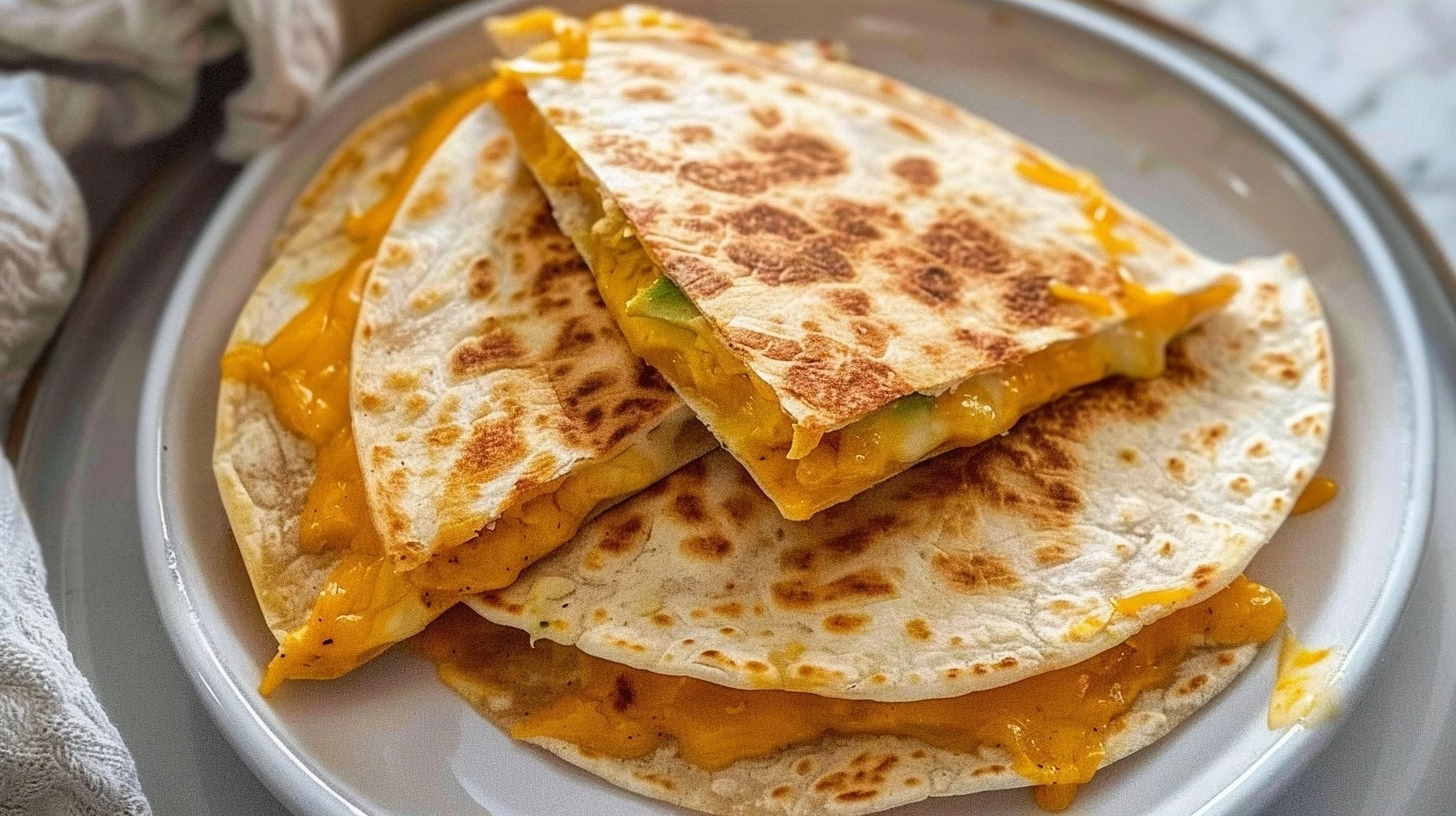
Cheese Quesadilla Triangles
Ingredients
Method
- Place a non-stick skillet over medium heat and melt a small amount of butter.
- Place one flour tortilla in the skillet and sprinkle evenly with 1 cup of shredded cheddar cheese.
- Top with a second flour tortilla.
- Cook for 2-3 minutes until the bottom tortilla is golden brown and the cheese begins to melt.
- Carefully flip the quesadilla using a spatula and cook the other side for another 2 minutes until golden and the cheese is fully melted.
- Remove from the skillet and let rest for one minute before cutting into four even triangles.